
SQL server has always had this little peculiarity. The available drives for import/export of data or backup is limited to the physical drives of the computer. Any mapped drives are not visible.
The drives before the mapping:

…and the mapping

…and the drives after the mapping on the computer

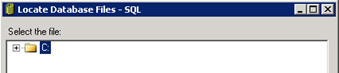
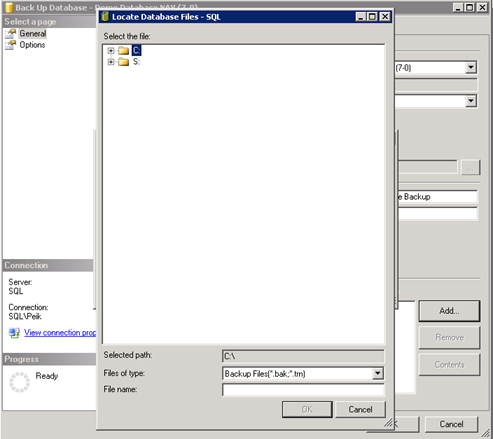
…and the drives in the SQL server after the mapping
The reason for this is that the SQL server is mostly running as a different user than the one you used to logon to the system. However, it is possible to trick the SQL server into seeing a mapped drive.
The demonstration here is performed in Windows Server 2008 R2 but the principle is the same in Windows 7 or Windows 8. The inspiration for this workaround comes from the backup system CrashPlan who has a similar workaround for backing up to a NAS device.
In order to make a mapping visible to the SQL server, you first need to find out, which user account the SQL server is logged on. So start by going to services:

Normally the SQL server would be running a domain user, but in this case, it is the Local System account.
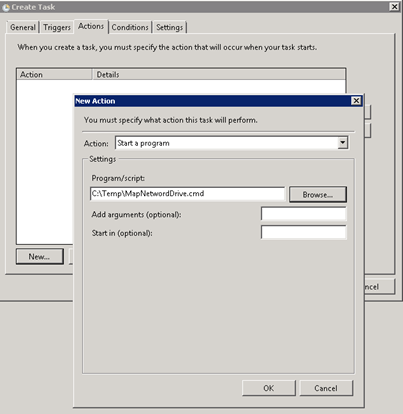
Now we need to make a logon script, and place somewhere on the disk accessible to the Local System account. Here I choose the c:\temp folder and create a new file called MapNetworkDrive.cmd. In the file, I write:

Now we need to run this script as the Local System account every time the system is restarted.
The Task Scheduler can help us there: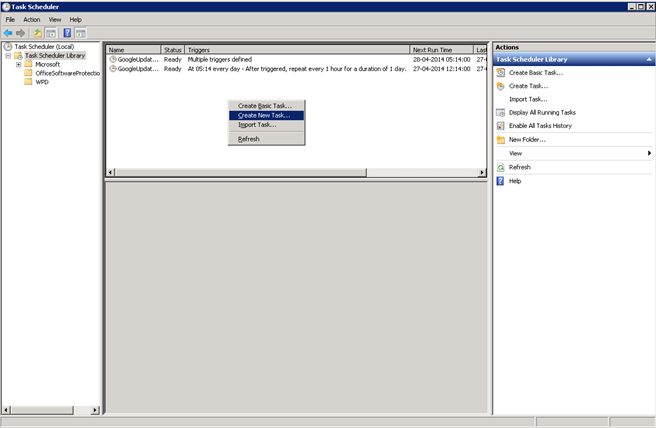
Creating the new task as the SYSTEM account and with highest priorities:

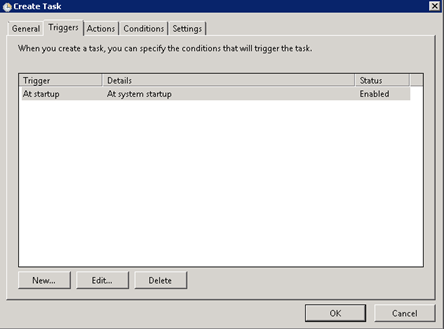
Setting the triggers:
And the Actions:
Now it ready to test:

Now the mapping of the computer will look the same, but if you disconnect the drive, we just mapped a while ago, the mapping will look like this:

…but from SQL server it suddenly looks like this:
Problem solved.


