Sometimes it’s fun just to experiment with making functions just to see if it is possible.
During one of my recent Microsoft Dynamics NAV 2009 development courses, I was challenged, if it was possible to create a webpage, where customers could print their invoices just by typing in the invoice number.
How can we do that?
- Well first we need a webservice in Microsoft Dynamics NAV 2009, created as a function in a Codeunit, which would take one parameter and return the invoice.
- Next we need to publish the webservice
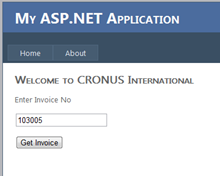
- Lastly we need to create a website that utilizes the webservice, has one field and one button.
One of the challenges is: How do we get the invoice from Microsoft Dynamics NAV 2009?
I see two different solutions:
- Print the invoice as pdf on a public location and send the path back to the website as a string. Here the Website can present the pdf for download or view. The problem is, that our invoices will be available on the internet, and that is not an option, no matter how short it may live there.
- The second solution is to stream the invoice back to the website. This is a bit more complicated, but it will never compromise my data. Not to mention, that it is more funJ
So how do start?
In Microsoft Dynamics NAV 2009 I start by creating a new Codeunit: 50099 Test Web Services. In this I create one function PrintInvoice. This function takes one parameter inInvoiceNoFilter.
But how can we get the invoice back to the website as a stream?
Well we cheat.
I make another parameter called outFile with the type of BigText and make it “pass by reference”, in this way I can return values back to the website. And how do I get a pdf into a text? The answer is Base64. Base64 is a dll that can be registered on my Microsoft Dynamics NAV server, and gives you the possibility to convert a file into a string value. Where can I find it? Well check the internet, there are many free versions available.
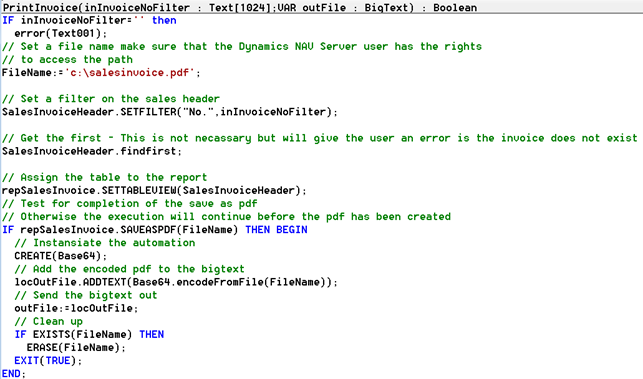
So now my function looks like this:

I include a return value as Boolean, because we need that for webservices, and because we can signal if the function failed back to the web site.
Then to the function. First I create a number of variables:
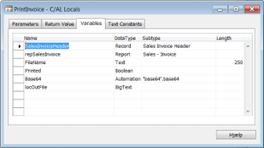
After this I make the code:
After this has been made, I want to make a test from the RoleTailored Client
First I add two lines of code and a local variable (locOutFile is BigText) in the onRun trigger of the Codeunit:

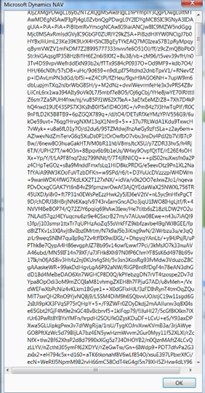
Then add an action to the Role Center and run it. The result does not make any sense, but it will show me, that something has been made. It looks something like this:
Ok – So far so good. On to the webservice. First I need to publish my webservice in Microsoft Dynamics NAV 2009:
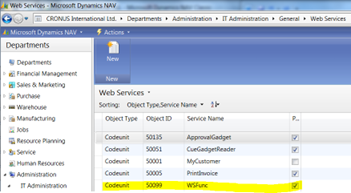
I name it WSFunc and to check if it has been published I check my browser:
http://<Machine Name>:<Port No>/<Instance Name>/WS/<Company Name>/Services
Remember that all spaces should be left as spaces; they will automatically be converted to %20. Some might suggest using localhost, but that might lead me into a log-on nightmare, meaning that I will need to log on all the time. Instead for testing, use the machine name and make sure that the machine is created as Local Intranet in the Internet Options’ security tab. In a live solution we talk much more security (SSL and all), that will be covered in a later post.

Ok – We’re done in Navision. Let’s go to visual Studio
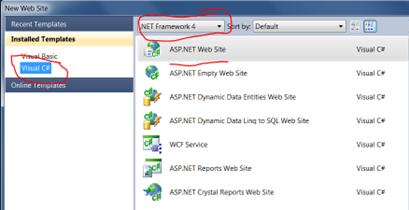
First I make a new web site using the C#
In the Designer of the Default.aspx
Drag in a label, a Textbox and a button from the Toolbox, It will look something like this:
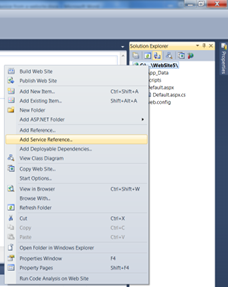
Now create a Web Reference to your webservice, sometimes you need to go through Add Service Reference then Advanced then Add Web reference:
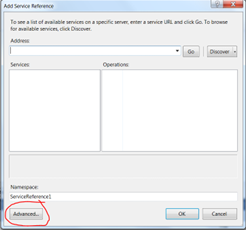
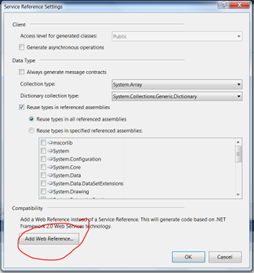
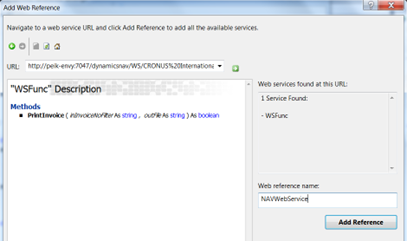
Giving you this window where you can paste in the end point address you found in your browser. Add a reference name and click Add Reference. Do not use the same name as your webservice. C# can’t handle that namespaces and variables have the same name.
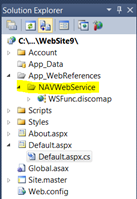
After this you can see the Web Reference in the solution explorer:
Now on to the code lines:
In the Designer, double click the button. That will take you to the code:
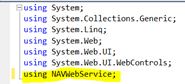
In the top include the Web Reference
Now to the code:

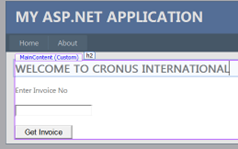
Press F5 to test the page, Type an known invoice No in the Text field and Click the Button. It should look like this:
After Clicking the Button:
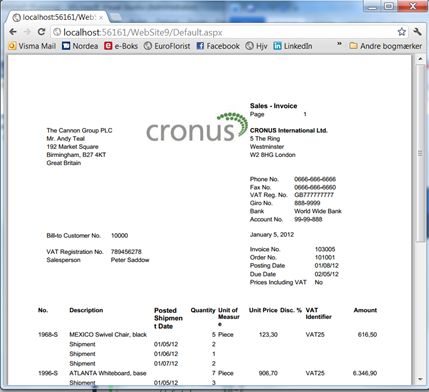
And here you go.
Have fun.